How To Make Your Own Condiments
By
8 months ago
This new book is all about the 'wacky world of condiments'
Do you drizzle everything in Tabasco? Can’t have a bacon sandwich without ketchup? Obsessed with kimchi? We’ve got just the book for you. The Condiment Book by Claire Dinhut – known on TikTok as CondimentClaire – is a celebration of all the sauces, jams, chutneys we love to use to jazz up our dishes. Describing itself as a ‘flavour manual’, it delves into the history of our favourite condiments, suggests flavour pairings and offers guidance on how to make homemade versions. We’ve shared an extract below, plus three recipes to try yourself.
Extract From The Condiment Book
Flavour
‘While taste only happens in your mouth, flavour is a full-body experience, primarily due to the inclusion of scent. While we can perceive five distinctive tastes – at least, that we know of as I write – we are able to discern nearly 10,000 aromas. Odour plays an enormous part in how our bodies react to eating food. Sniffing, or ‘orthonasal olfaction’ in non-layman’s terms, does not have anything to do with flavour. Rather, flavour is sensed through retronasal olfaction, which is scent coming through the back of the mouth.
With every exhalation, the back of your throat is able to taste-smell all of those (hopefully delicious) stimuli within your mouth. Just think about when you have a blocked-up nose: everything is so… meh. You can feel the texture of the food you’re eating, but otherwise it gives off beige and bland energy. So you may be surprised to learn that loss of smell, or anosmia, does not affect the ability to sense taste whatsoever. Even if you feel as though you can’t ‘taste’ anything when you’re unwell, you actually can, you just can’t smell it! That proves how important smell is in comparison to taste when it comes to flavour and, ultimately, to pleasure.
Enough about smell, let’s get into the simpler components of flavour such as sound and colour. These are relatively straightforward: the sound of a coffee machine whirring, of butter sizzling, of the soft-slap whipping of cream… all these noises will trigger your desire to eat, so flavour is already beginning to develop before you have taken a single bite. Sound can also change your perception of taste. Loud noises, such as in a busy and cramped restaurant, can even suppress the feeling of sweetness as well as heighten the sensation of umami!
Since flavour is in part psychological, it shouldn’t surprise us that colour plays a crucial role in its perception. A grey-green bean probably won’t be as appealing to you as its bright green sister. Sure, this could be to do with cooking technique, but if you go to bite into something with a funky colour, you probably won’t have high expectations. The psychological effect of colour creates an assumption of texture and taste that influences the body’s eventual sensation of flavour. All this leads the eater to judge the food, not taste it.’
3 Condiment Recipes
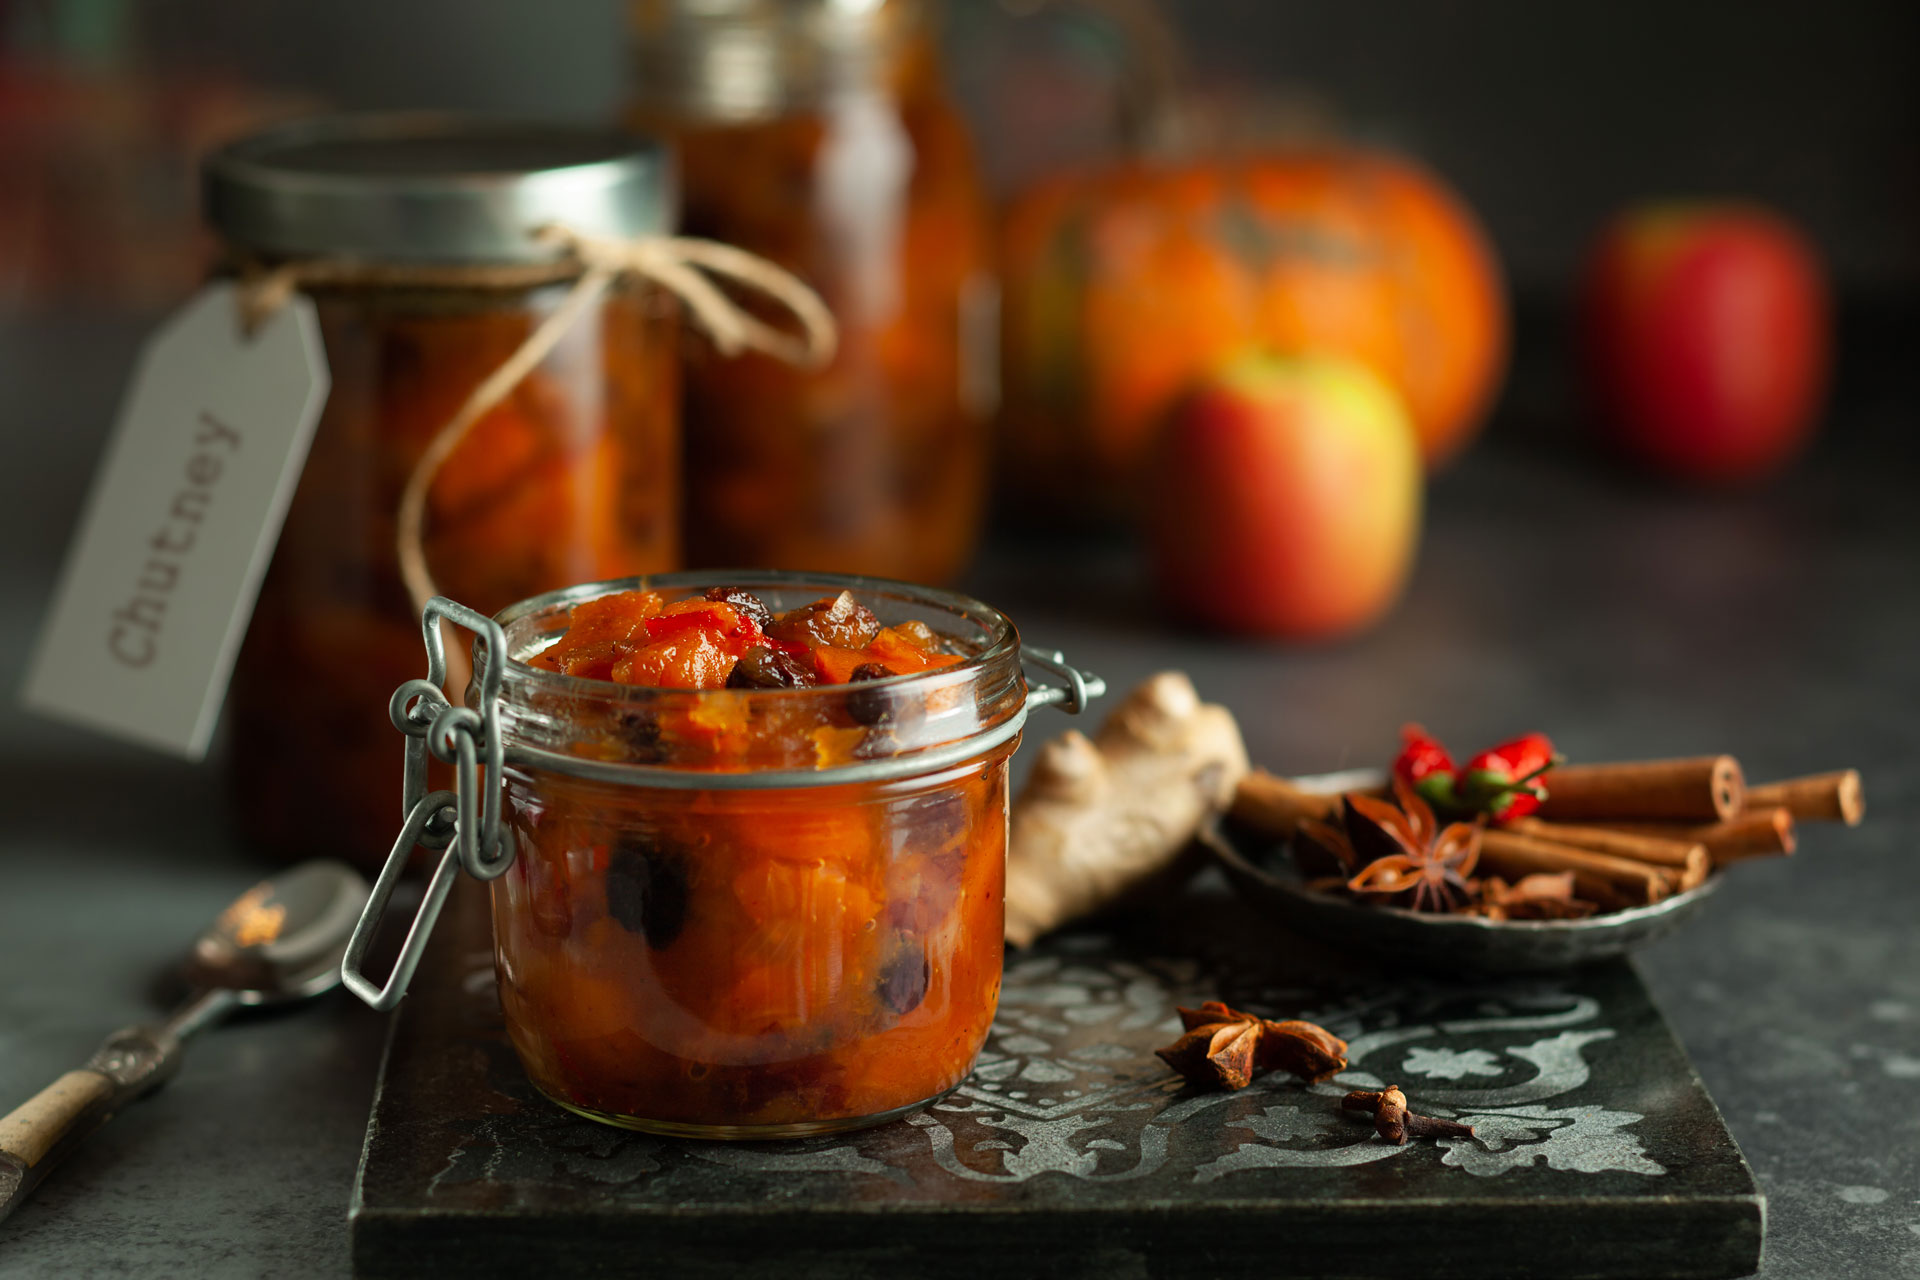
Getty Images
Chutney
Ingredients:
- 100ml apple cider vinegar
- 60ml malt vinegar
- 150g white granulated sugar
- Pinch of salt
- 1 cinnamon stick
- 1 onion (100g)
- Sliced 5 tangy apples, I tend to use
- 4 Granny Smiths
- 1 rogue Royal Gala (total weight 470g), cored and chopped
- 30g sultanas
Method:
- Boil vinegar with a sweetener (sugar, syrup, molasses and so on), salt, any spices and herbs and – usually – alliums (onions, shallots…). This step isn’t necessary and you can skip it and add everything to the pan at once, but I prefer to cook the alliums first, as I find it gives the chutney less of a pungent onion flavour.
- Once the alliums are translucent, add the remaining ingredients (fresh and dried fruit and vegetables and any alcohol).
- Simmer over a medium heat for 30–40 minutes, stirring rather frequently, especially as time goes on.
- Turn off the heat once your chutney is glossy and gloopy. You should be able to draw a line through the chutney with a wooden spoon and see the bottom of the pot.
- Pot in sterilised jars.
- This is the toughest part: you need to let your chutney sit in a cool dark place for a minimum of 2 weeks after making it, to allow the vinegar to work its magic. After that time, you can open the jar, but once it’s popped open, remember to keep it in the fridge. It will keep for a few months, or for a single evening filled with lots of cheese, wine and laughter.

Getty Images
Kimchi
Most recipes for kimchi will tell you to create a starch paste out of sweet rice flour: this binds the ingredients together and makes for a quicker fermentation time. I’ve found that the recipe here does the trick for me without needing to dirty another dish, so this is just my method. You can also blend the radish into the spicy paste, but I prefer it in chunks.
You could try adding an Asian pear or apple to the kimchi paste, or chopping it up alongside the other vegetables. This gives your kimchi a nice sweetness and promotes further fermentation, because of the sugar content. My friend’s grandma uses any fruit she has lying around, even grapes. And if you want a more pungent, briny flavour, add oyster or raw shrimp to the paste, too.
This recipe can last you months, but, if you’re like me, this jar should be gone within a few weeks (if not days).
Ingredients:
- 1 head of Chinese leaf (1–2kg)
- 65g Korean salt, or coarse salt, plus ½ tsp cloves from 1 head of garlic
- 1 nub of ginger (to give 1 tbsp when blended)
- 2 tbsp fish sauce
- 1 tbsp shrimp paste
- ½ onion
- 35g gochugaru (this is quite hot, so adjust depending on your liking for spice)
- 3 bunches of spring onions
- 120g Korean radish, or daikon, julienned
- 60g carrots, julienned large bowl
- Gloves (you don’t want spicy eyes, I promise)
- Colander
- Airtight container, such as a sterilised jar or airtight food container
Method:
- Remove the outer layer of Chinese leaf and set aside.
- Cut the remaining head of Chinese leaf into quarters, then into 5cm chunks. Place in the large bowl. (You’ll be using this bowl to mix everything later, so make sure it’s big enough!)
- Add the 65g salt and toss with your hands. Let sit for 4–6 hours, allowing for the moisture to seep out of the leaves. Whenever you walk by (ideally every 15–30 minutes), toss the mixture again.
- Rinse the Chinese leaf in the colander 3 times (my Korean friend’s mum swears by this number, so just do it), to remove any salt, then let it drain for 1 hour. When well drained, replace in the clean bowl.
- Blend the kimchi paste mixture together: the garlic, ginger, fish sauce, shrimp paste, onion, ½ tsp salt and – most importantly – the gochugaru.
- Chop the spring onions and add to the drained Chinese leaf bowl with the julienned radish and carrots.
- PUT ON YOUR GLOVES and add your pungent, bright red paste to the vegetables. Massage through until every leaf is coated.
- Place your new homemade kimchi (exciting!) into the airtight container and top with the layer of leaves you set aside, to create a barrier. Here you can also add clingfilm or baking parchment on top.
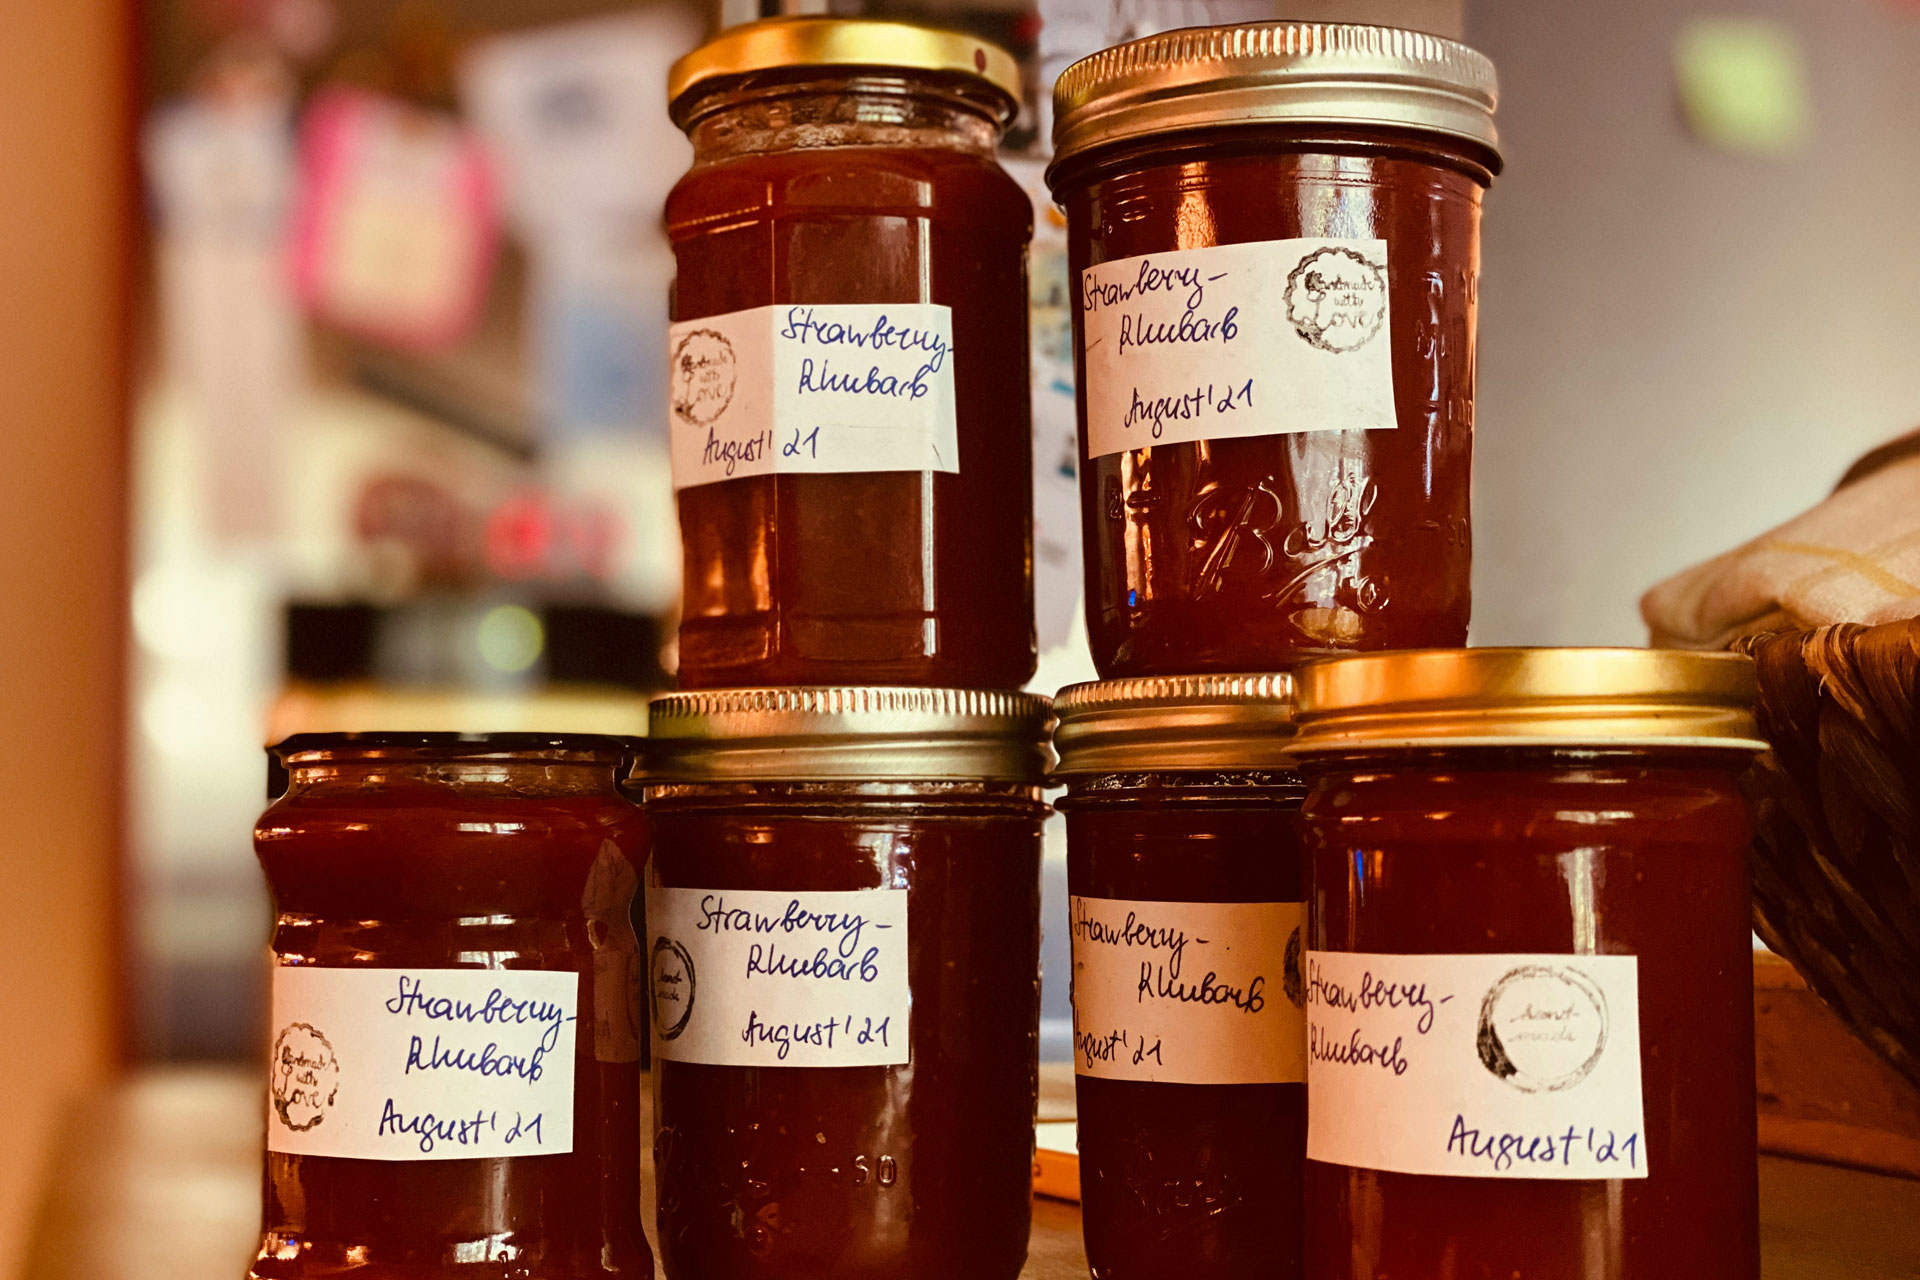
Unsplash
Jam
Simple steps, easy-to-grasp ratios, scale-able up or down, extremely versatile. Since this is a template for a low-sugar jam, it won’t keep as long as a shop-bought jar. Sugar is a preserving agent, so the less you use, the less time the jam will keep. You’ve still got a good six months minimum of preservation (and trust me, I have kept them for longer). Once opened, I recommend storing the jars in the fridge.
For extra-astringent and sour produce such as rhubarb, feel free to up the ratio to include more sugar; perhaps try a ratio of 2:1 fruit to sugar.
Here’s the thing: you can rush jam, but you shouldn’t. The longer you macerate the fruit in sugar and lemon, the gloopier, stickier and shinier your jam will be. That is why the only step here I urge you to follow is the twelve-hour minimum maceration in lemon and sugar, if you’re using regular sugar (rather than jam sugar).
Ingredients:
- Fruit
- White granulated sugar
- Lemon(s)
- Large pot (it honestly doesn’t need to be a specialised preserving pan)
- Cooking thermometer
- Sterilised jars
Method:
- Peel the fruit, if you’d like. I peel fruit with cores such as apples, quinces and pears, but leave the skin on fruit with pits and smaller seeds such as apricots or plums. It’s truly up to you.
- Cut the fruit into pieces the size of your liking.
- Weigh your fruit and add around one-third of its weight in sugar. Put both fruit and sugar into the large pot. This ratio is SO flexible, but since I don’t like jam too sweet, I usually stick to it. I also like easy numbers so, if I have about 700g of fruit, instead of measuring out a perfect one-third of that (233.3g) in sugar, I’ll usually add 250g.
- Squeeze in the juice of 1 lemon (or 2–3 depending on your amount of fruit and preference for acidity). Throw the lemon shells in, too. Let the fruit, sugar and lemon sit in the fridge overnight. Next morning, your fruit should have let out a lot of sticky liquid. This is fantastic: it will become the shiny jelly holding the jam together.
- Place a small plate or saucer in your freezer.
- Place your pot over a high heat and boil the jam for 20–30 minutes, removing the lemon shells after 5 minutes. Once the jam reaches 104–105°C on the cooking thermometer, it should be ready!
- Take out your chilled plate, plop a bit of jam on it and tilt the plate. It should be thick and shouldn’t run down the plate. If it does, feel free to keep it over the heat for longer to thicken it, or just jar it anyway! Liquid jam isn’t bad jam, it’s just a matter of texture preference.
- Fill the sterilised jars with the jam, close the lids and flip over to seal. You’ll hear pops from each jar over the next few hours.
Extract taken from The Condiment Book, out 26 September 2024