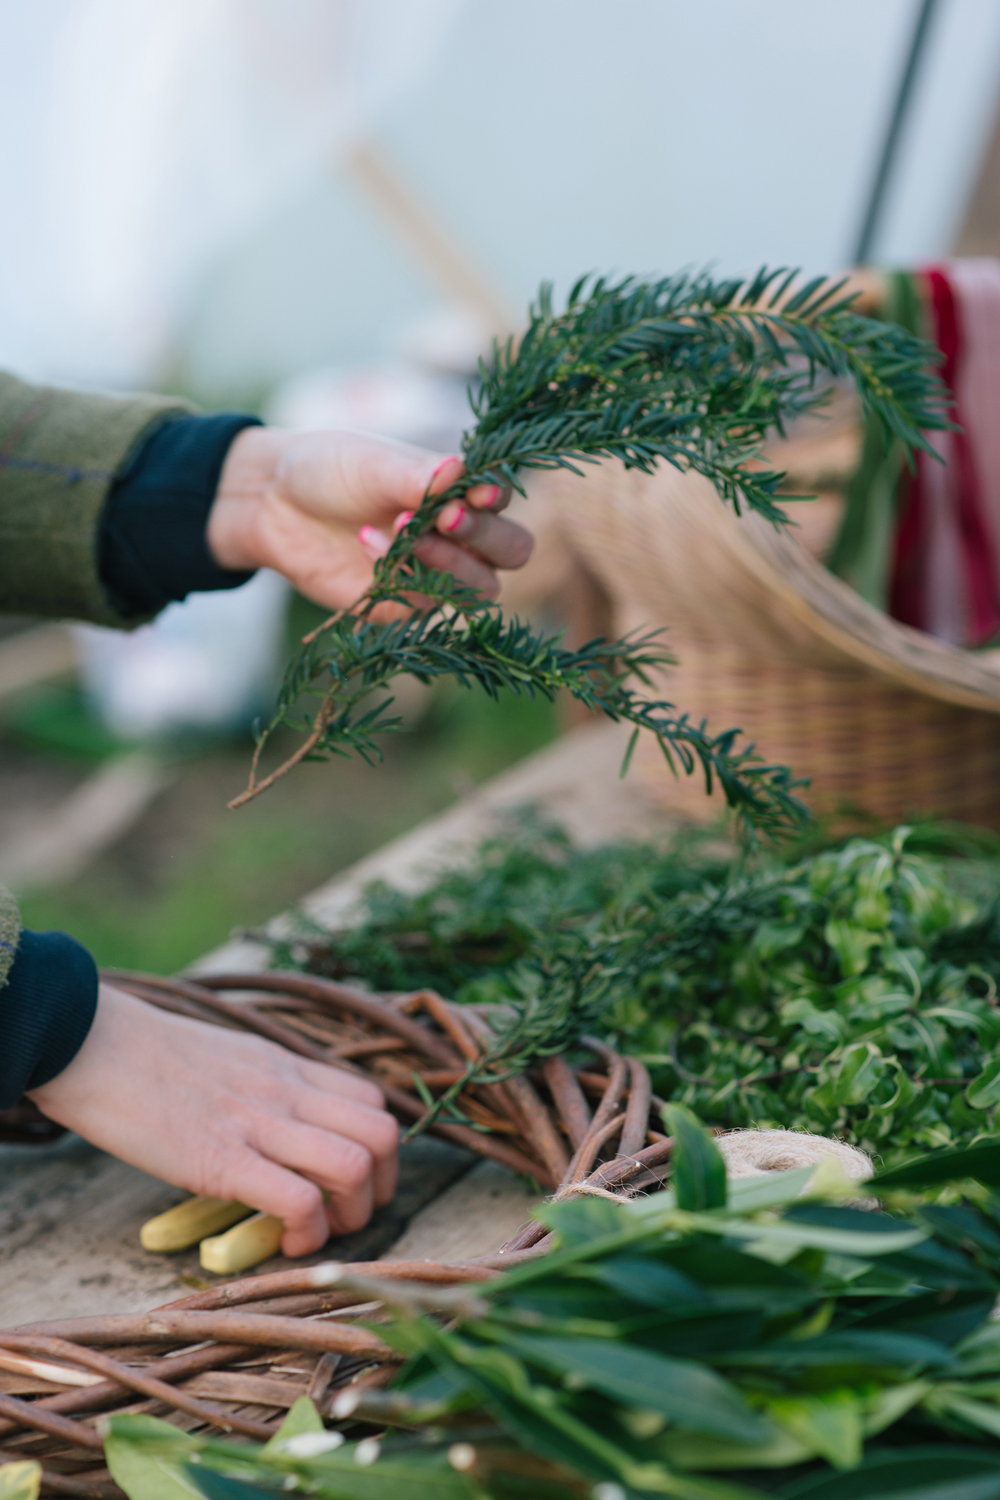
How To Make A Natural Christmas Wreath
By
5 months ago
According to a floral designer
One of the worst parts about Christmas? The waste. But it doesn’t have to be that way – and the first port of call is your festive decorations. We asked Hannah Bryce, grower and floral designer at Minnow and Wolf, for her top tips. Here’s her guide to crafting a Christmas wreath with all natural materials.
How To Make A Natural Christmas Wreath
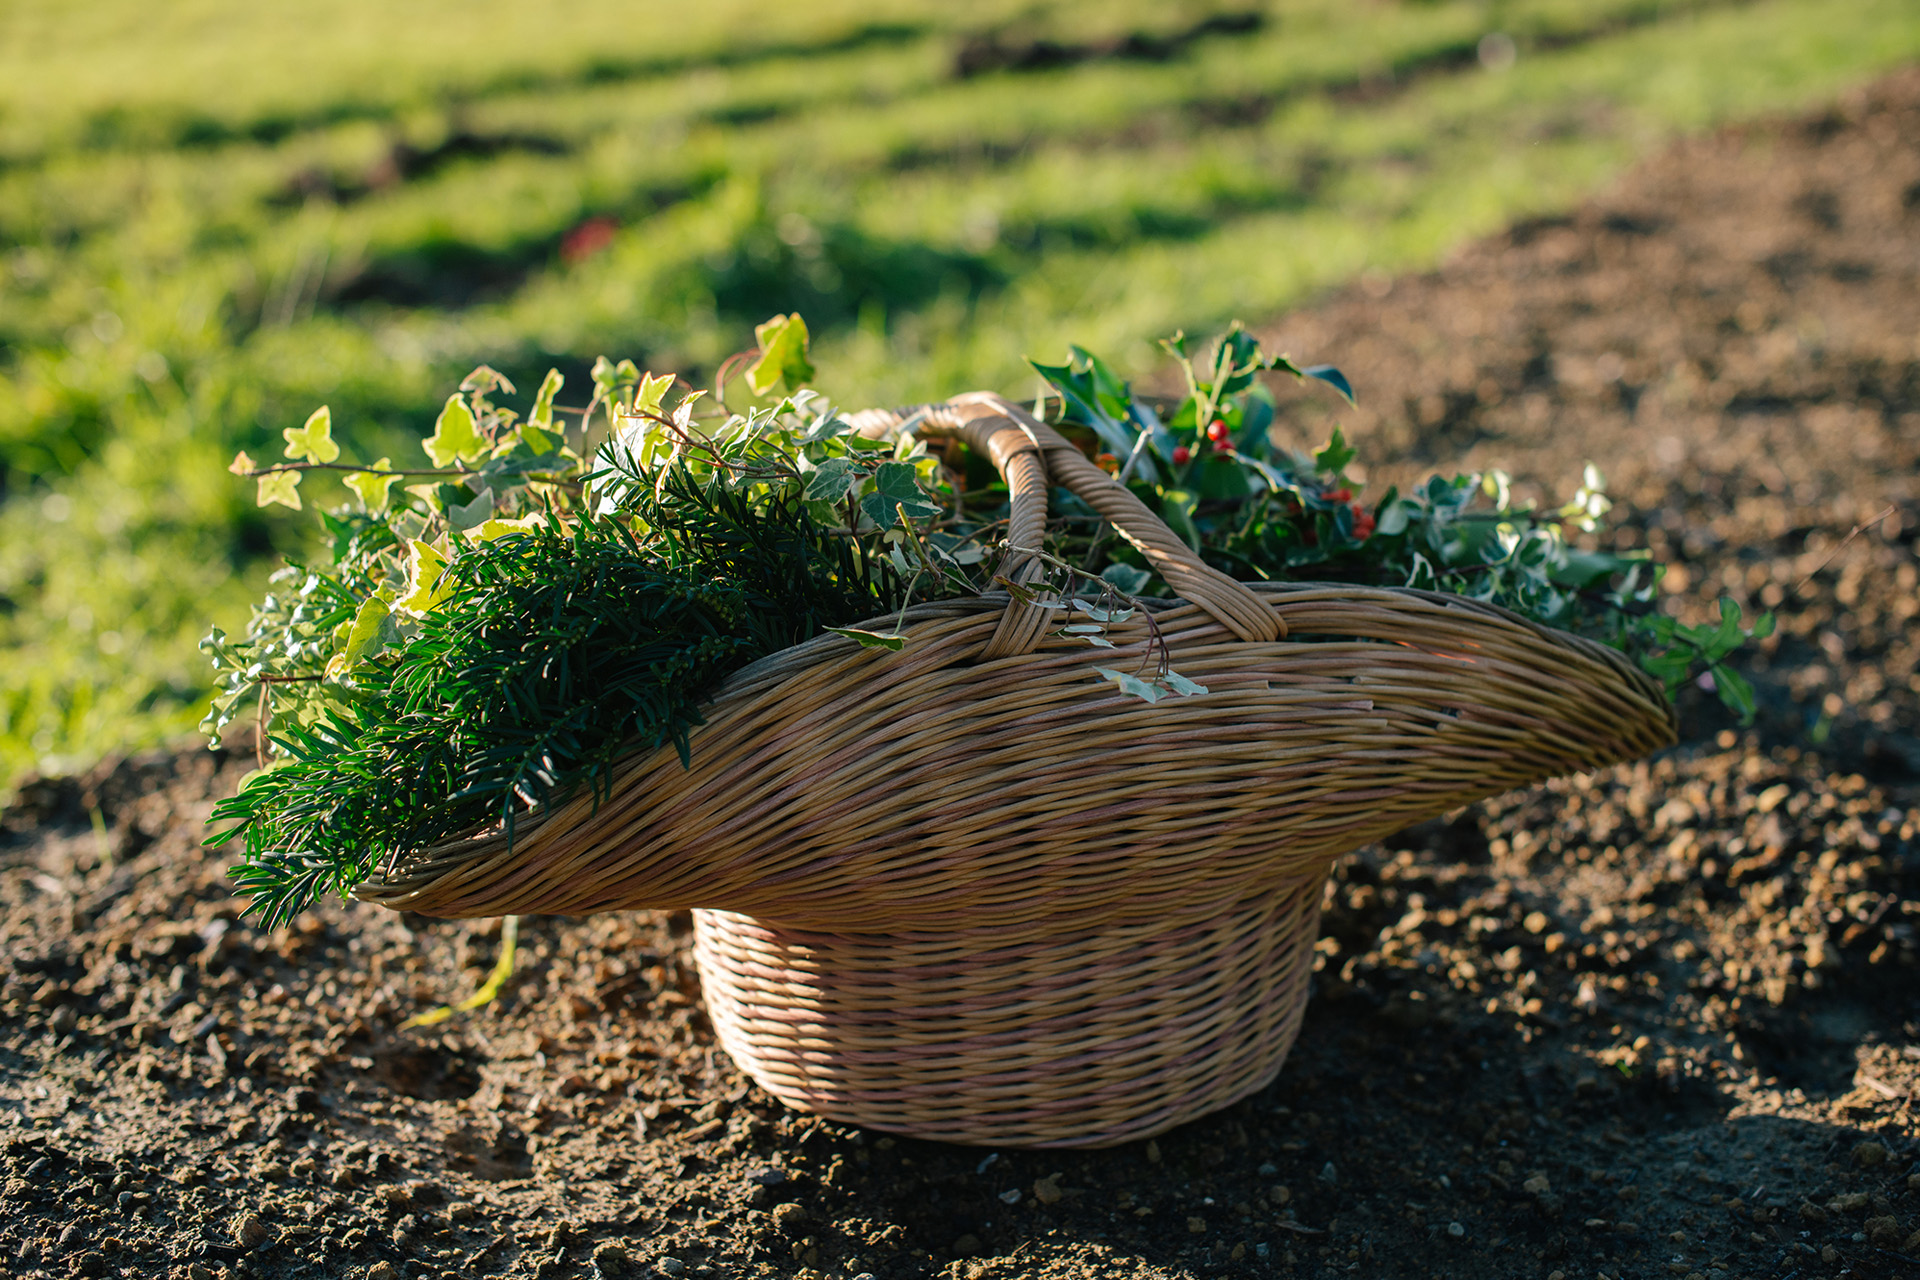
There is something really special about foraging and making your own Christmas decorations. I find the process really rewarding and a beautiful way to connect with nature and what’s in season.
(© Natasha Marshall)
Materials
For a natural Christmas wreath you will need:
- A wreath base: you can buy a premade base or make your own using willow. Brown (dry) willow or green (fresh cut) willow are both good choices. The great thing about choosing a natural material is that it’s 100 percent compostable.
- Floral scissors or secateurs
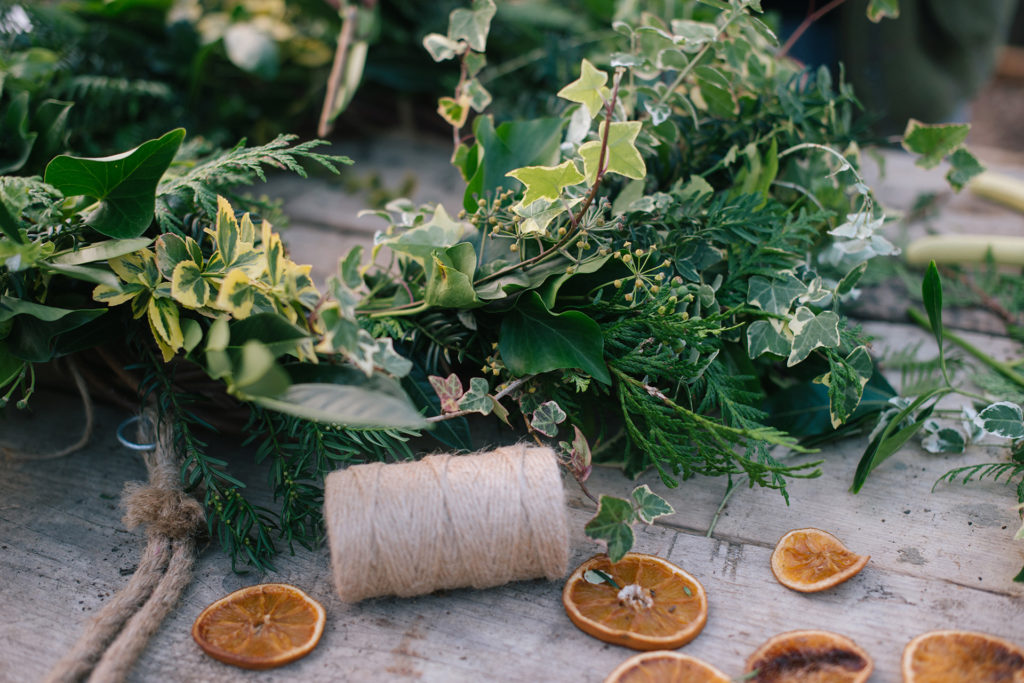
- Undyed jute string. It’s natural and can go on the compost heap once you have finished with the wreath. Be sure to buy the natural jute twine and not plastic (they look similar).
- Foliage and any dried flowers or fruits you wish to use
- A ribbon
There is a great selection of evergreen foliage available at this time of year. Look out for ivy, lichen branches, scented pine, holly with berries, laurel, cypress, conifer, cedar, ilex, juniper, yew and woody herbs such as thyme and rosemary. I like to collect pine cones throughout the year as they always come in handy at Christmas.
You can also use dried fruits such as oranges, apples and lime and dried flowers to add a splash of colour to your wreath. Dried strawflowers, statice and lavender are all good choices.
Method
1. Make Your Base
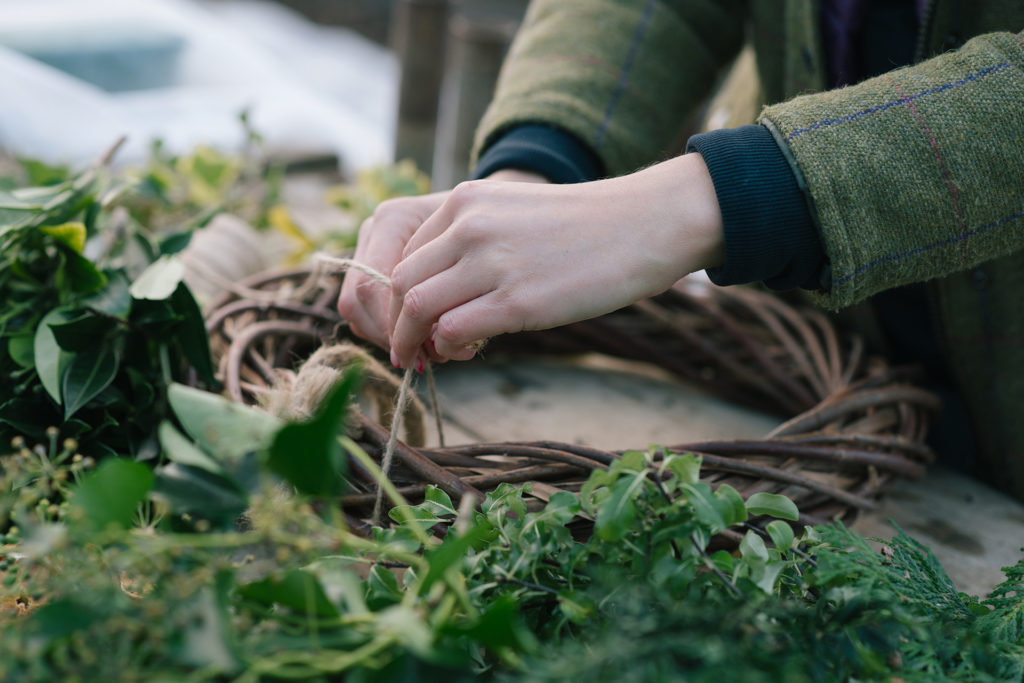
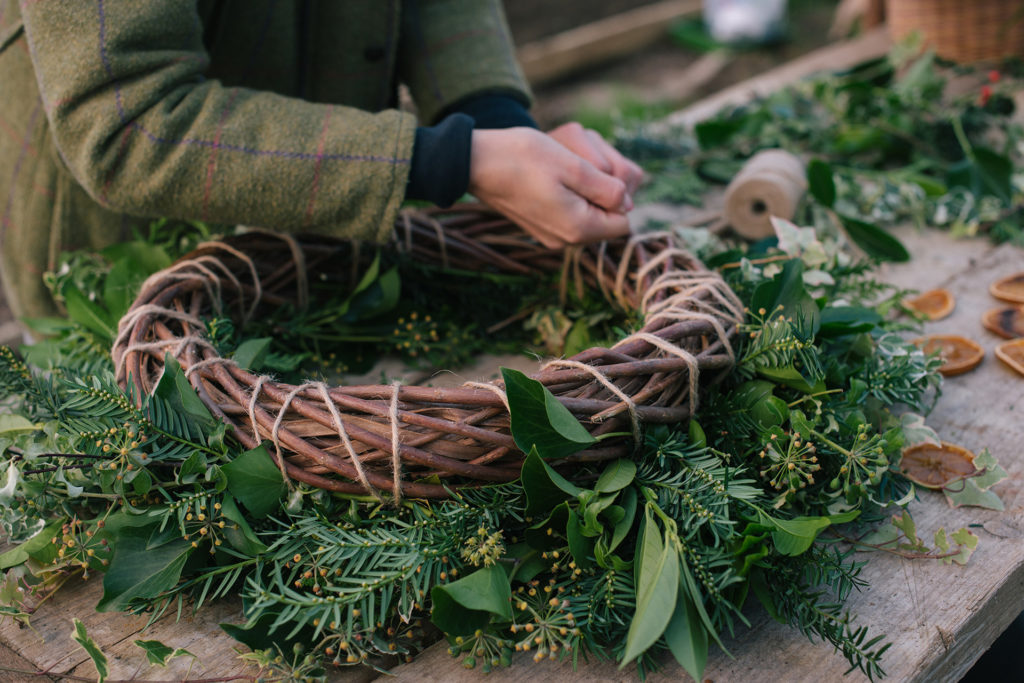
Start by bending the willow into a circle shape and tie it tightly with jute string. If you want a sturdy base, wrap the willow several times to make it stronger. It might take a few minutes to get the shape right but keep bending and tweaking until you are happy it looks like a circle. You can play with the size here depending on your door – just remember you are adding foliage so it will be much bigger when it’s decorated.
Once you are happy with the shape, tie the string to the top of the wreath in the centre. Keep the string attached to the base. You can keep it in a ball or cut off a really long piece.

2. Gather Your Foliage
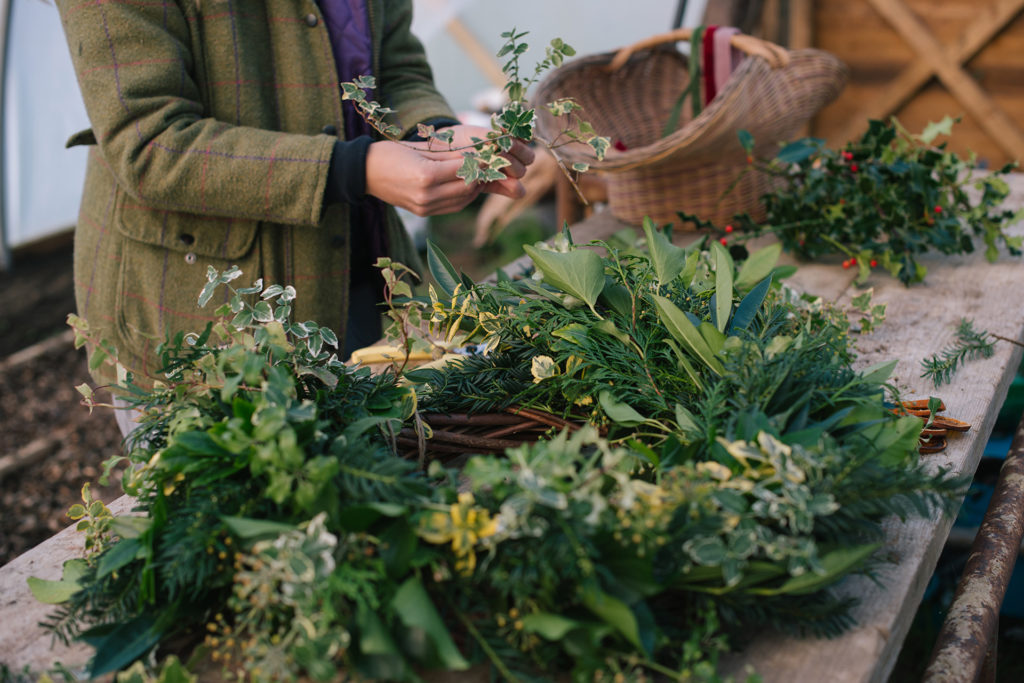
Gather your foliage together and make small bunches mixing the materials. If you have foliage with berries, make sure they are at the top of the bundle so you see them clearly on the wreath.
3. Secure Your Foliage
Now it’s time to add the foliage to the base using the string. Take the first bundle and lay it at a slight angle to the top of the wreath base. Secure it in place using the string to wrap around the stems. Pull the string tightly each time you add new foliage. Continue adding the foliage bundles following the same direction to the wreath slightly overlapping each section as you go. This avoids any gaps and helps to hide the string. If there is any string showing at the end, you can simply tweak the foliage to cover it. I like my wreath to be quite wild, but you can play with the shape and height depending on what materials you use and the length of your foliage bundles. If you want the wreath to be more formal, make your foliage bundles shorter and ensure each is the same size.
4. Embellish With Natural Decorations
Once the base is completely covered with foliage, you can add dried flowers, fruits, pinecones and any decorations you would like to use. Again, you can bundle ingredients together or add one at a time using the string to secure into place. Try making small garlands with the dried fruit slices and ribbon to attach to the wreath. To do this, you will need to insert a small hole into the fruit slices and use string or a thin piece of ribbon to make the garland. Pinecones can be secured into place by twisting the jute string around the pine cone, starting under the first few layers of petals – position onto the wreath and secure the string at the back.
5. Attach Your Ribbon
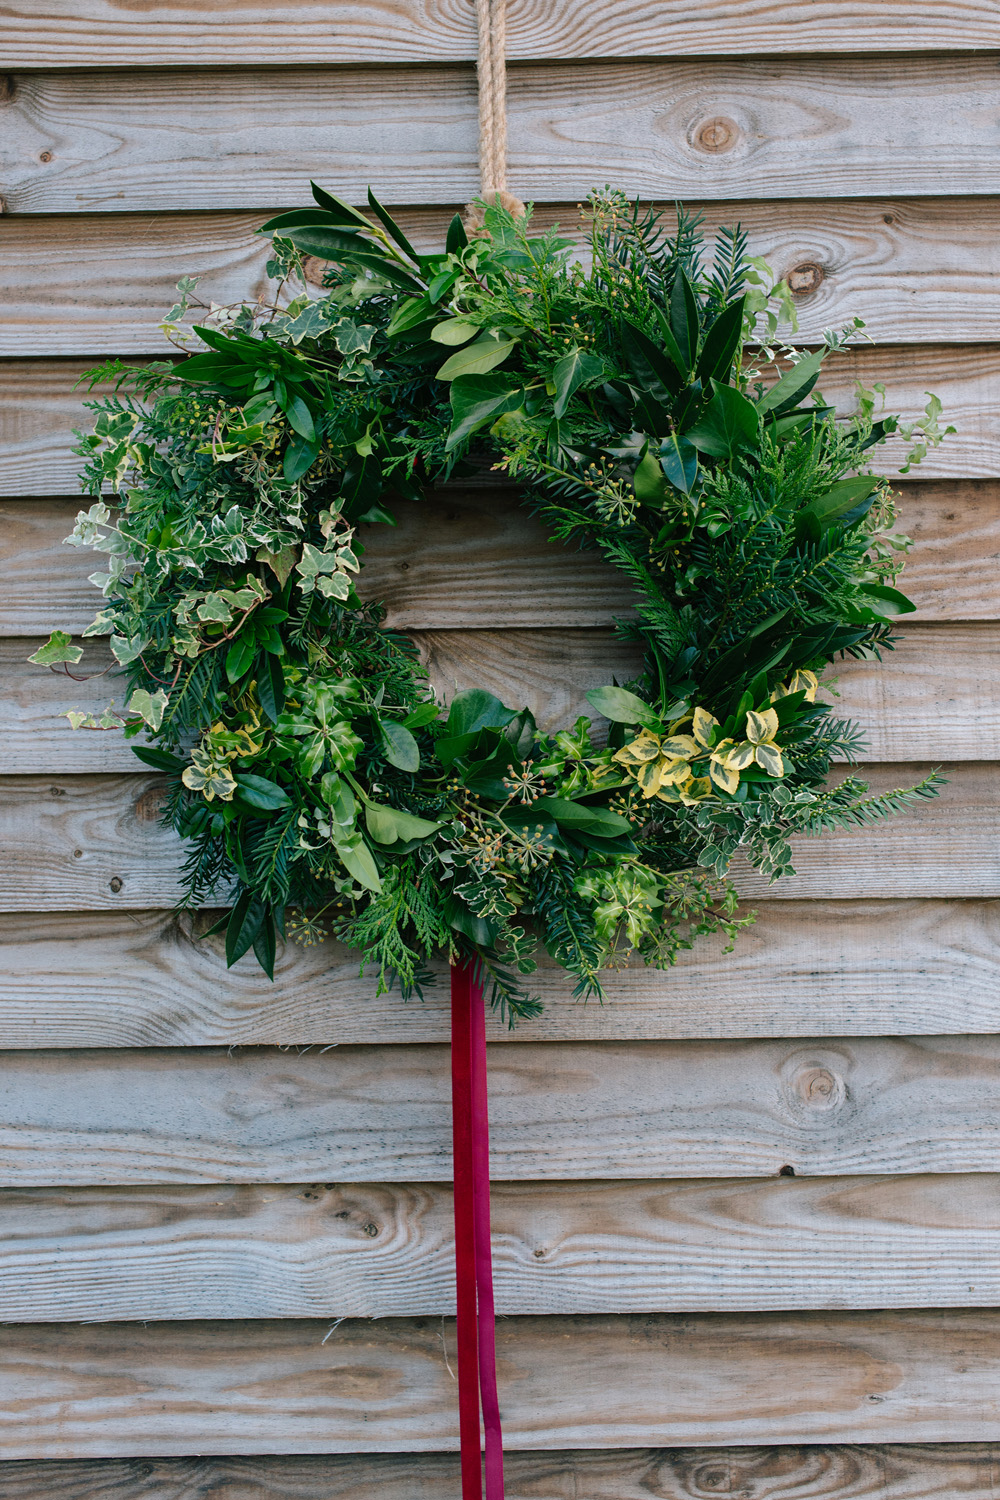
Once the wreath is complete, finish by adding a beautiful ribbon. You can simply tie this onto the wreath directly or make a knot in the ribbon before attaching it to the wreath and run a piece of string through the knot. Use the string to secure the ribbon in place.
The wreath will look beautiful hung on your front door, or use it as a table centerpiece with candles for a stunning display.
(© Natasha Marshall)
Discover more at minnowandwolf.com
All images © Natasha Marshall


